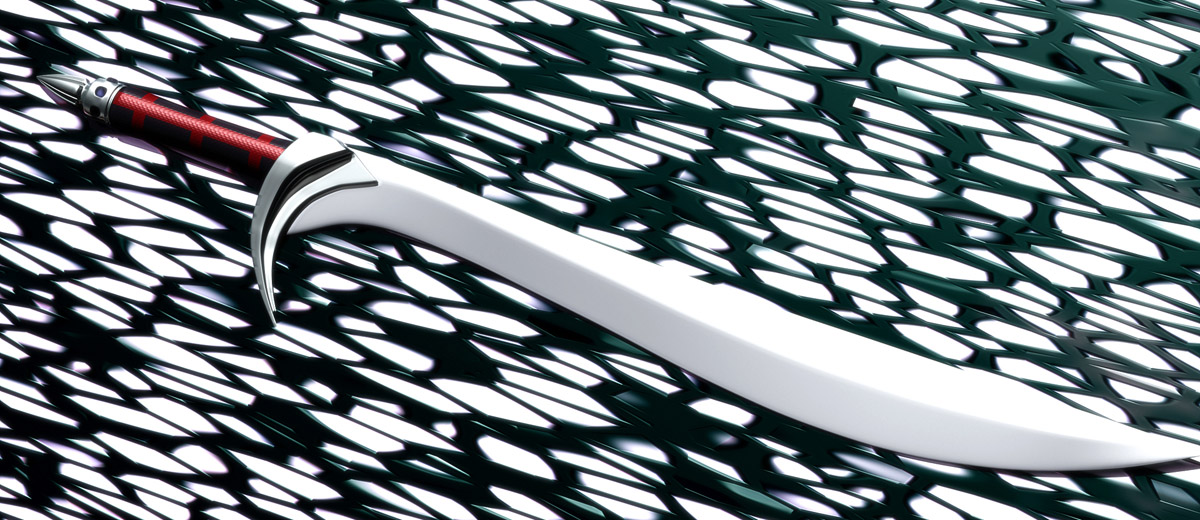
Modelled and rendered in LIghtwave 11.5
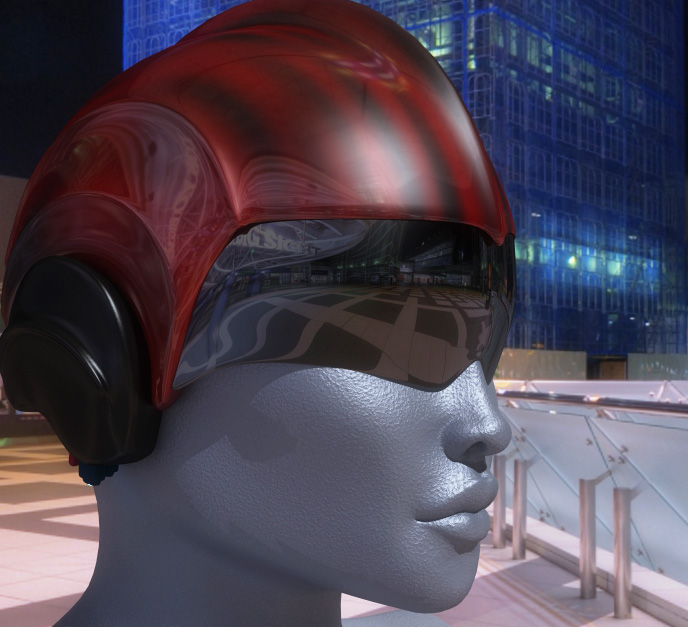
Venom is a little something I’ve been working on for a friend. The project will now possibly go to market at one of the DAZ/Poser related 3D brokerages in the not too distant future. I originally took up the project to really get into LightWave’s modelling tools and out of my comfort zone. It is all well and good to follow a few tutorials and experiment with personal projects, but I’ve always found that making something to request is a much more challenging and educational experience. I’ve learnt a great deal about LW, and modelling in general. I’ve learnt a number of things to avoid in the future, and I’ve learnt that UV mapping is a very tricky business that will require a lot of practice.
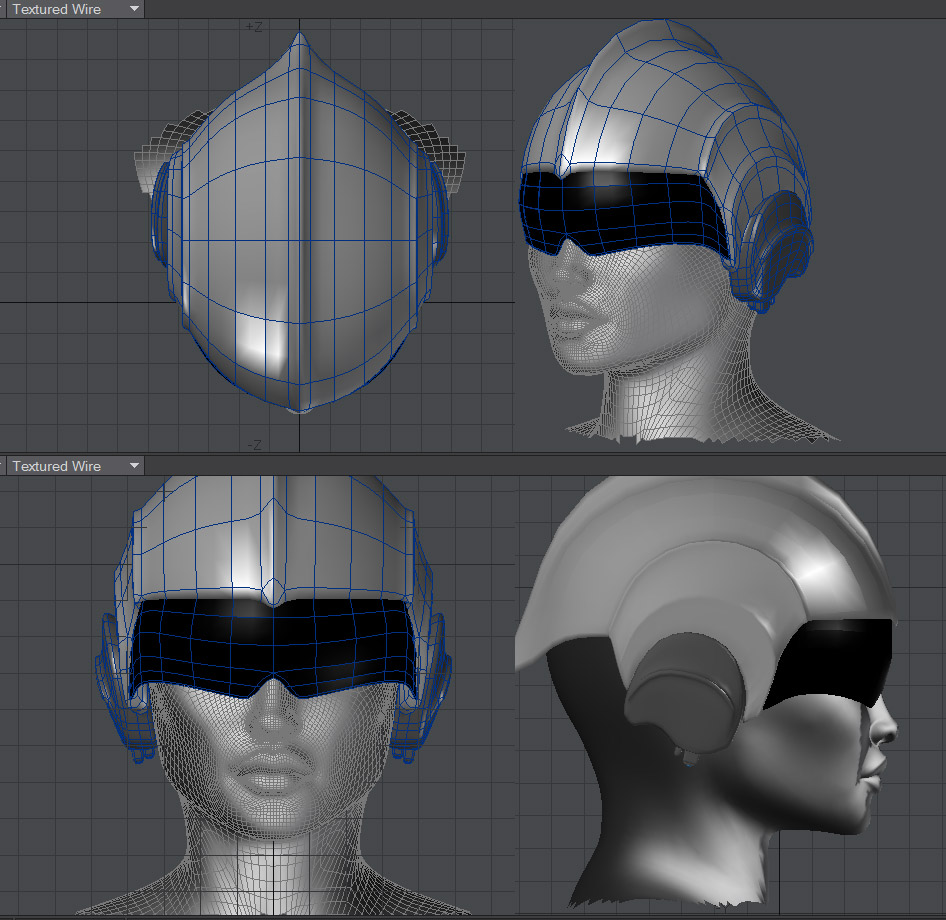
For the project I tried a number of 3D software packages to get the best UV maps possible. Hexagon 2.5 was my first attempt. In many ways Hexagon really punches above its weight. For a cheaper modelling program it has some fantastic tools that tend to be found in more expensive programs. The first thing I noticed when getting started in LW 9 and then 11 was that it just didn’t have some of the neat time-saving tools I’d grown to take for granted in Hexagon, like the “thicken” tool, and various line/loop extrusion tools. More importantly (and relevant) LW (until the release of 11.5) had only the most basic UV mapping tools, which required a good deal of skill to get the best out of. One method involved manually flattening models (best as possible) as endomorphs so they could be mapped to a planer projection. I couldn’t even imagine trying to flatten the sword’s hilt, though I would assume many more complex objects have been mapped in this way.
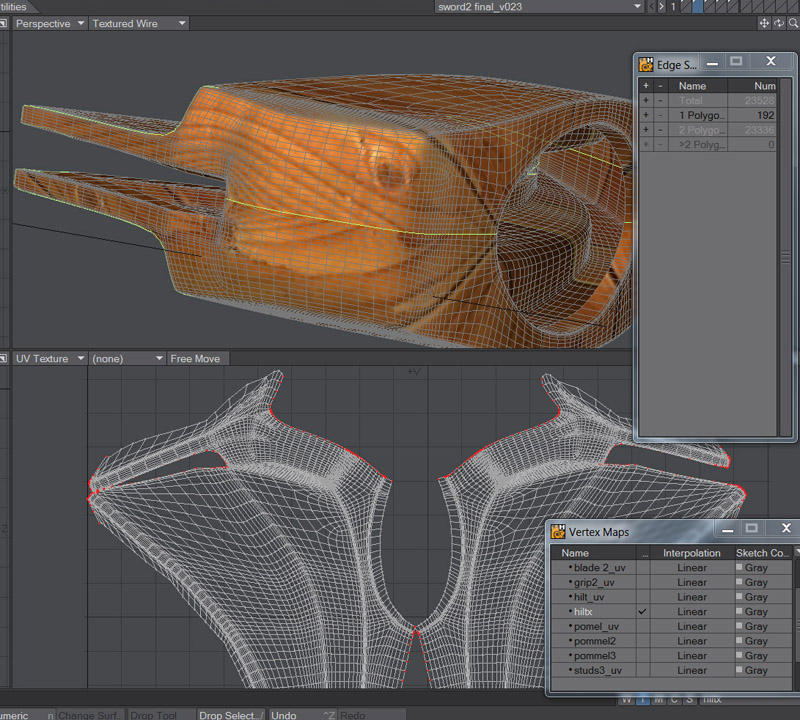
Hexagon, on the other hand has wonderful UV tools including seam unwrap and pinning. This is much like cutting seams along a paper model for assembly, or cutting and pinning fabric. Even these tools can become tedious and hard to handle when dealing with complex geometry. Hexagon’s edge and point selection tools do nothing to speed the process. Blender was another tool I used in my quest for the best unwrap. I found Blender’s tools much the same as Hexagon’s but the edge/point selection tools were better suited to the task. I will note that getting to anything in Blender, due to its powerful but complex interface, require a bit of reading. …and then just as I was winding up the process along came LightWave 11.5 with its new ABF UV tool (Angle Based Flattening) – seemed like as good a time as any to take it for a spin. Overall the process and results were much the same as Hexagon and Blender, but I found with LW’s selection tools, and perhaps familiarity with the interface, I was able to lay seams and unwrap much quicker, and thus experimenting with different unwrap methods wasn’t as tedious as it was with the other programs.

ABF UV mapping in LightWave 11.5
It was interesting to go back and forth between software, and got me thinking back over the time I’d spent learning and using them (or trying to), so I thought I’d finish by writing up some general impressions of the various packages I’ve developed over the last year. Blender really is a fine open source project. It does everything! And it includes a game engine, and both a biased and unbiased render engine. Blender certainly isn’t for the timid newb, as I was when I first installed it over a year ago, but it is getting better and easier to use all the time. Hexagon is a fantastic program (currently free from DAZ 3D). It is easy to use, and a lot of fun, or it would be, but for a good proportion of the user base, stability issues are an obstacle (huge obstacle in my case). If you remember to save often or use the incremental save most problems can be limited. The program is worth picking up for the low, low-cost of $0, but I would urge caution at purchasing the software when and if the “promotion” ends (so get it now). With further development Hexagon could be a real gem.
Hexagon was my primary modelling tool but stability issues lead me to look elsewhere. I experimented with Carrara, but I could never get into the program and always found myself back in Hexagon doing my best to hold back the “f-bombs” during periods of frequent crashes. That said, Carrara 8 has a lot to offer, even as it stands as the largely shunned tool of the 3D industry.
Buying a “cheap” LW 9.6 licence from a user was the break I’d been looking for. It is a program I’d been watching for some time, but even the relatively cheap price of the package was more than I was able to put on the table. The draw, for me, was the clean interface and text-based buttons, which made it so easy to get to the modelling tools, which seemed so quick and easy to use when compared to other packages. A great “out-of-the-box” rendering engine was definitely a cool feature.
LW has a mixed history and reputation – big in TV, and a strong cult following but less common in the games industry. While LW may not have all the bells and whistles of the more expensive programs like 3DS Max or Maya, and to this point has not kept the pace with all the neat productivity boosting tools, it is still a very solid package in all regards. With the developments of LW 11 and 11.5 (soft and rigid body dynamics, instancing, Unity integration new modelling tools etc) there seems a strong indication that NewTek is intent on closing the gaps and claiming a bigger market share.
with a dialled mix’n match morph – obviously the only texture used was for the bump. For a quick project I’m very happy with it. I’m now considering what to do with it next. Maybe I’ll model some additional props and see where that takes me. Or maybe I should get back to the “real work”. Decisions, decisions…

