Luxus Pseudo Review

So I spent a bit of time playing with Luxus for DAZ Studio. I must say the work flow is quite streamlined when compared to Reality 2. Having access to the surface tool and the DAZ Studio native surfaces tab works for me a lot better than having to browse through long lists of materials in the Reality application in order to edit them. To find a specific material when working with Reality 2 often meant closing Reality getting the surface tool, selecting the specific surface, and then opening Reality back up. Allegedly this is all changed with Reality 3 which uses the native interface, but that is little consolation for DAZ users who have not heard an ETA for Reality 3 (currently in closed beta for Poser), so maybe Luxus will fill the time for DAZ Studio users looking for an alternative.

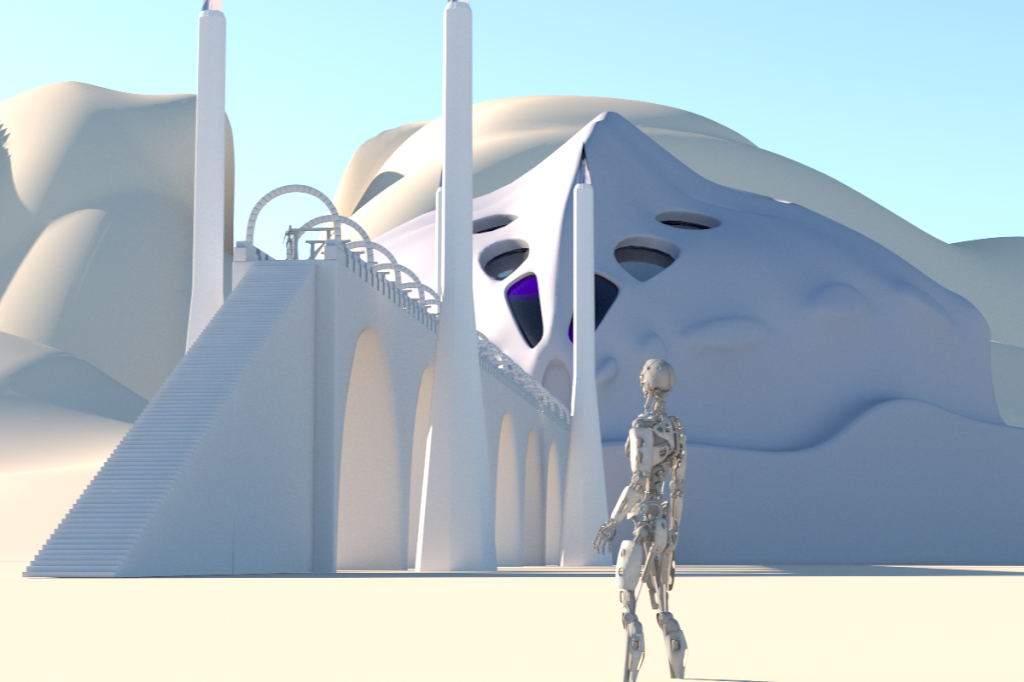
The first thing that stumped me about Luxus was getting nice looking Lux materials. I would look at the manual and go back to Studio, and then go back to the manual muttering, ‘what the hell does he mean “options menu”‘. Reading the manual you get the impression that 3delight materials will get something of a conversion to Lux, so I let up on the options menu search a bit and played around with my daz materials – doesn’t seem to do a great deal at all! Despite it all, Lux still gave me some reasonable renders, and damn is it quick when compared to just a short time ago.

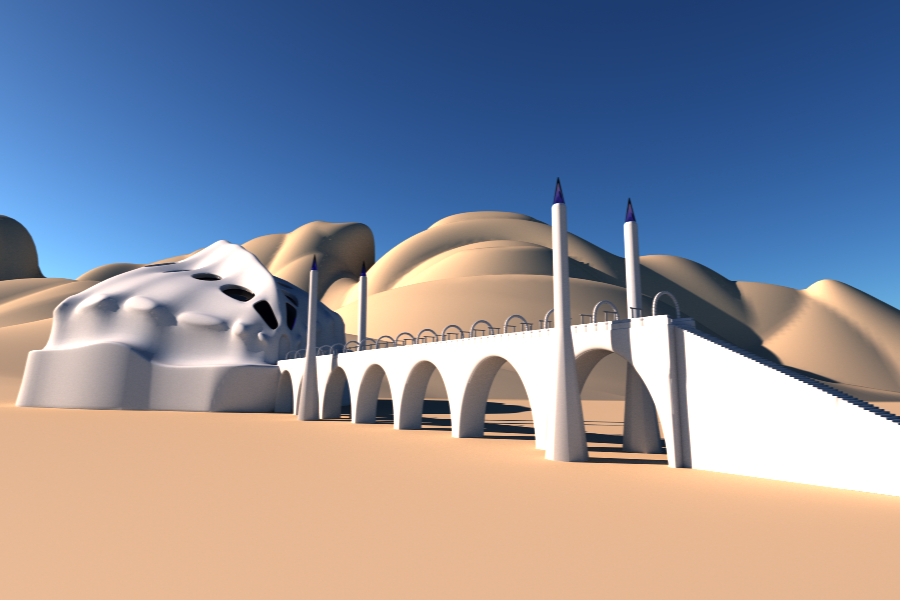
alien palace luxrender

LuxRender image via Luxus for DAZ Studio. Model done in LightWave


alien palace luxrender

Android from DAZ 3D

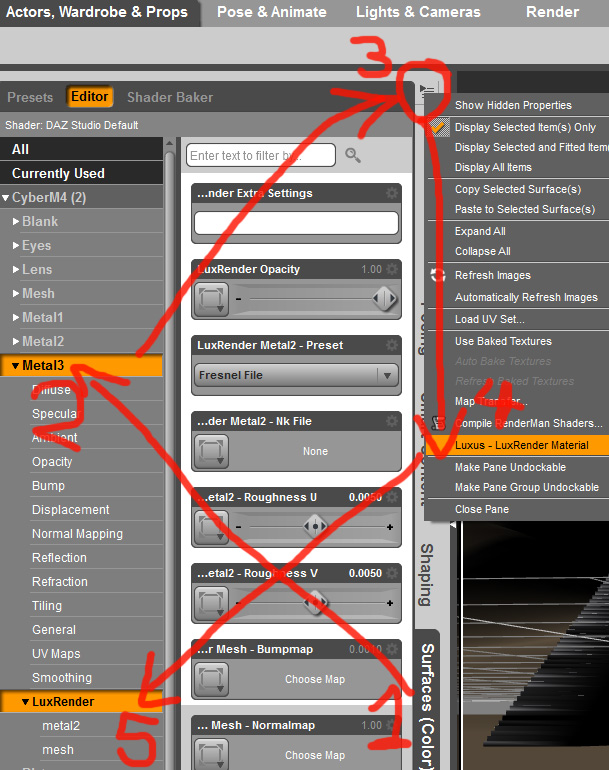
Not bad, but I still wanted that extra pop ya get when working with materials native to the engine. I go back to the manual, muttering but finally the answer comes from a post at the DAZ forums. Here I’ll demonstrate with a screen shot.

luxrender materials via luxus

Easy as pi 🙂 Click to expand

1. Surfaces tab
2. Select the material you want to convert to Lux
3. “Options Menu” dodad
4. Make it so!
5. Configure your sexy new mats

A similar process works for converting Studio lights to Lux lights, except that you use the parameters tab. So, once this little problem is overcome the full power of Lux is yours for the taking, though if you want the most out of the render engine I’d suggest a lot of reading (I know I need to at least). There are a number of things advanced users of Lux will like about Luxus, though I wouldn’t have the foggiest about those, but suffice to say that they will be able to do more of their pre render configuration with Studio’s interface and spend less time in a text editor doing manual tweaks.

To compare Luxus to Reality at this point I’d say that Luxus wins in terms of ease of use and price, but there are a lot of winning features of Reality such as the material previews, water, and fog primitives, material editor (once particular surface can be located!), and premade light rigs such as the soft box. I think, given time and further development Luxus will prove to be a worthy LuxRender bridge in the Studio user’s tool box. I think there is a lot to be optimistic about. The threads about Luxus on the DAZ forums are going strong, the developer is engadged in the discussion, and the general consensus is that Luxus is good.

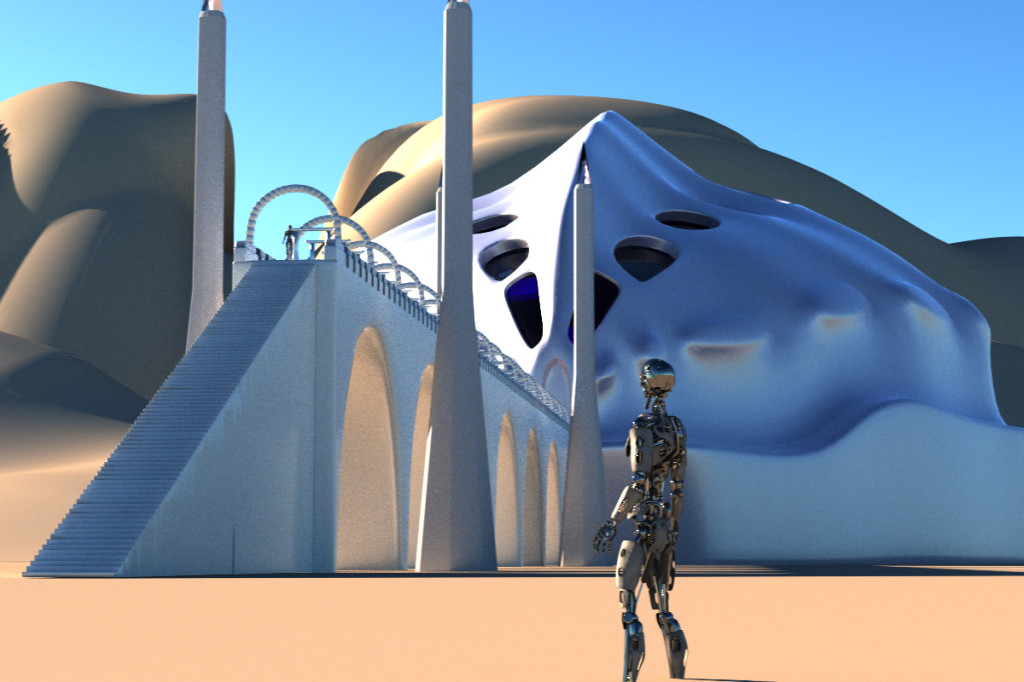
…and here it is still on the cook at about 800 samples per pixle, but looking good in those nice shiny Lux materials.

alien palace 3 luxrender

Much better

Happy renderings!

Modelling practice – corrective glasses

Everywhere I look I see things and I think, ‘I should model that’. Almost any relatively simple object seems like good practice. At this stage just about everything turns out to be harder than I originally anticipate, but this is something I’m somewhat prepared for. Preparing for the unexpected might seem oxymoronic, but what I really mean is that I allow myself time to experiment, fail and start over if need be. I don’t try to impose strict time limits, and I don’t let it get to me if something takes several hours to do where I thought one or a couple would be enough.

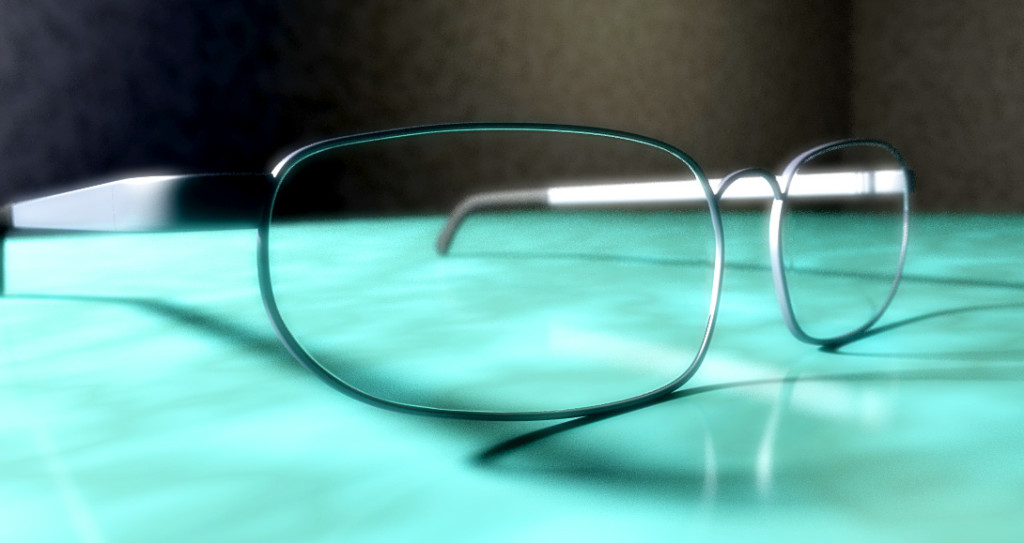
glasses2 copy

These are loosely based on my own glasses mixed with a few different reference images. Extruded boxes were used for the arms and hollow thickened box formed the basis for the rims. I was going to use splines and rail extrusion, but I thought I’d mix things up and try what I thought would be the harder technique. Total model time ended up being about 5 hours, but on rendering I realised I missed the pads. I may go back and fix this at some point, but moving on and forwards seems preferable. After all there are at least a hundred simple objects within sight that I wouldn’t mind giving a go.

The render isn’t exactly crystal clear. Render settings is something else I’m working on. DOF particularly makes it hard to find a good balance between speed and quality. Total render time was about 30 mins preceded by hours of playing with surfaces and caustics (the later of which was abandoned).

Venom, UV mapping, and various 3D packages of the last year

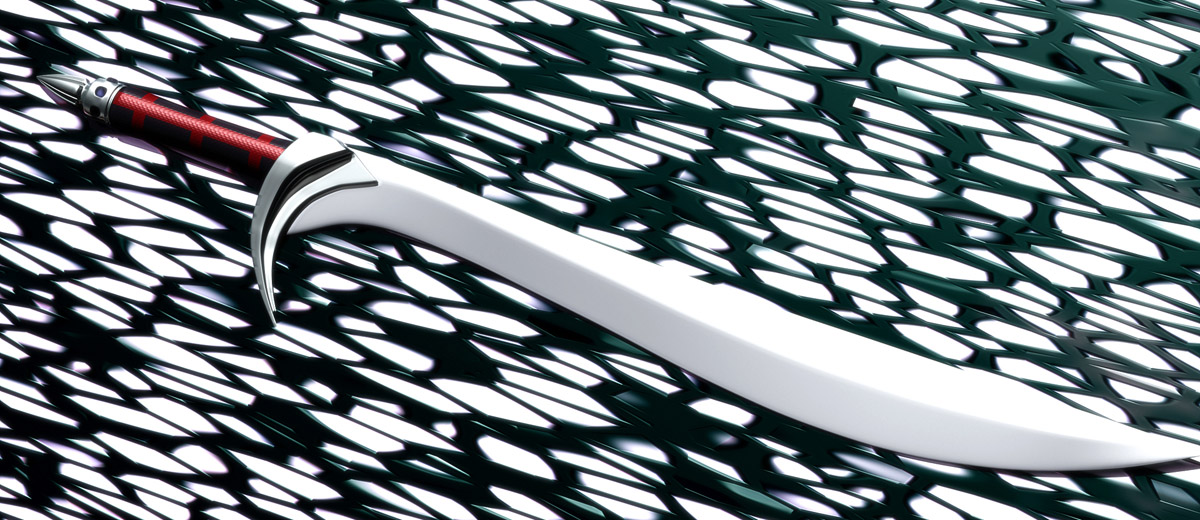
sword: venom

Modelled and rendered in LIghtwave 11.5

Venom is a little something I’ve been working on for a friend. The project will now possibly go to market at one of the DAZ/Poser related 3D brokerages in the not too distant future. I originally took up the project to really get into LightWave’s modelling tools and out of my comfort zone. It is all well and good to follow a few tutorials and experiment with personal projects, but I’ve always found that making something to request is a much more challenging and educational experience. I’ve learnt a great deal about LW, and modelling in general. I’ve learnt a number of things to avoid in the future, and I’ve learnt that UV mapping is a very tricky business that will require a lot of practice.

For the project I tried a number of 3D software packages to get the best UV maps possible. Hexagon 2.5 was my first attempt. In many ways Hexagon really punches above its weight. For a cheaper modelling program it has some fantastic tools that tend to be found in more expensive programs. The first thing I noticed when getting started in LW 9 and then 11 was that it just didn’t have some of the neat time-saving tools I’d grown to take for granted in Hexagon, like the “thicken” tool, and various line/loop extrusion tools. More importantly (and relevant) LW (until the release of 11.5) had only the most basic UV mapping tools, which required a good deal of skill to get the best out of. One method involved manually flattening models (best as possible) as endomorphs so they could be mapped to a planer projection. I couldn’t even imagine trying to flatten the sword’s hilt, though I would assume many more complex objects have been mapped in this way.

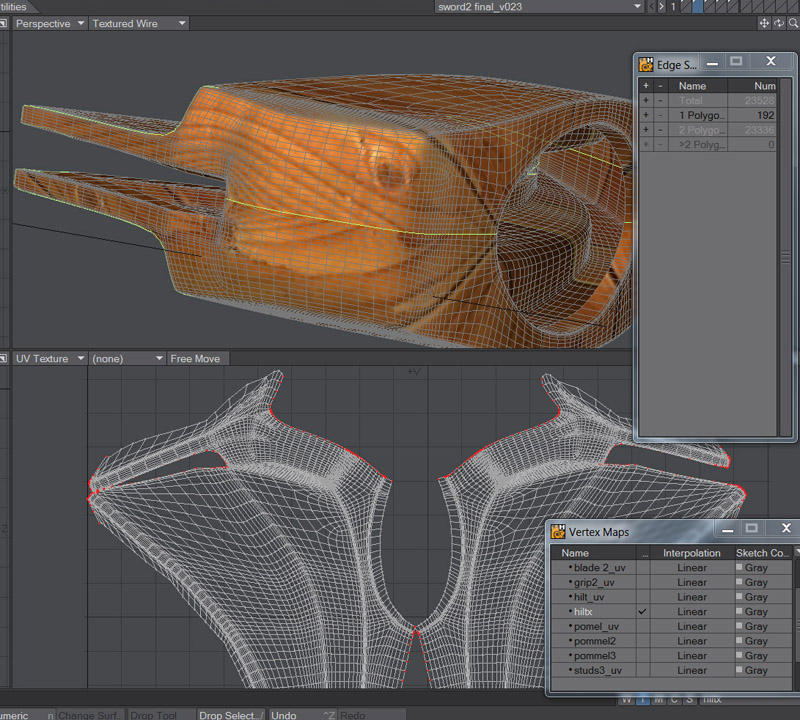
Hexagon, on the other hand has wonderful UV tools including seam unwrap and pinning. This is much like cutting seams along a paper model for assembly, or cutting and pinning fabric. Even these tools can become tedious and hard to handle when dealing with complex geometry. Hexagon’s edge and point selection tools do nothing to speed the process. Blender was another tool I used in my quest for the best unwrap. I found Blender’s tools much the same as Hexagon’s but the edge/point selection tools were better suited to the task. I will note that getting to anything in Blender, due to its powerful but complex interface, require a bit of reading. …and then just as I was winding up the process along came LightWave 11.5 with its new ABF UV tool (Angle Based Flattening) – seemed like as good a time as any to take it for a spin. Overall the process and results were much the same as Hexagon and Blender, but I found with LW’s selection tools, and perhaps familiarity with the interface, I was able to lay seams and unwrap much quicker, and thus experimenting with different unwrap methods wasn’t as tedious as it was with the other programs.

uv mapping ABF

ABF UV mapping in LightWave 11.5

It was interesting to go back and forth between software, and got me thinking back over the time I’d spent learning and using them (or trying to), so I thought I’d finish by writing up some general impressions of the various packages I’ve developed over the last year. Blender really is a fine open source project. It does everything! And it includes a game engine, and both a biased and unbiased render engine. Blender certainly isn’t for the timid newb, as I was when I first installed it over a year ago, but it is getting better and easier to use all the time. Hexagon is a fantastic program (currently free from DAZ 3D). It is easy to use, and a lot of fun, or it would be, but for a good proportion of the user base, stability issues are an obstacle (huge obstacle in my case). If you remember to save often or use the incremental save most problems can be limited. The program is worth picking up for the low, low-cost of $0, but I would urge caution at purchasing the software when and if the “promotion” ends (so get it now). With further development Hexagon could be a real gem.

Hexagon was my primary modelling tool but stability issues lead me to look elsewhere. I experimented with Carrara, but I could never get into the program and always found myself back in Hexagon doing my best to hold back the “f-bombs” during periods of frequent crashes. That said, Carrara 8 has a lot to offer, even as it stands as the largely shunned tool of the 3D industry.

Buying a “cheap” LW 9.6 licence from a user was the break I’d been looking for. It is a program I’d been watching for some time, but even the relatively cheap price of the package was more than I was able to put on the table. The draw, for me, was the clean interface and text-based buttons, which made it so easy to get to the modelling tools, which seemed so quick and easy to use when compared to other packages. A great “out-of-the-box” rendering engine was definitely a cool feature.

LW has a mixed history and reputation – big in TV, and a strong cult following but less common in the games industry. While LW may not have all the bells and whistles of the more expensive programs like 3DS Max or Maya, and to this point has not kept the pace with all the neat productivity boosting tools, it is still a very solid package in all regards. With the developments of LW 11 and 11.5 (soft and rigid body dynamics, instancing, Unity integration new modelling tools etc) there seems a strong indication that NewTek is intent on closing the gaps and claiming a bigger market share.

A little something

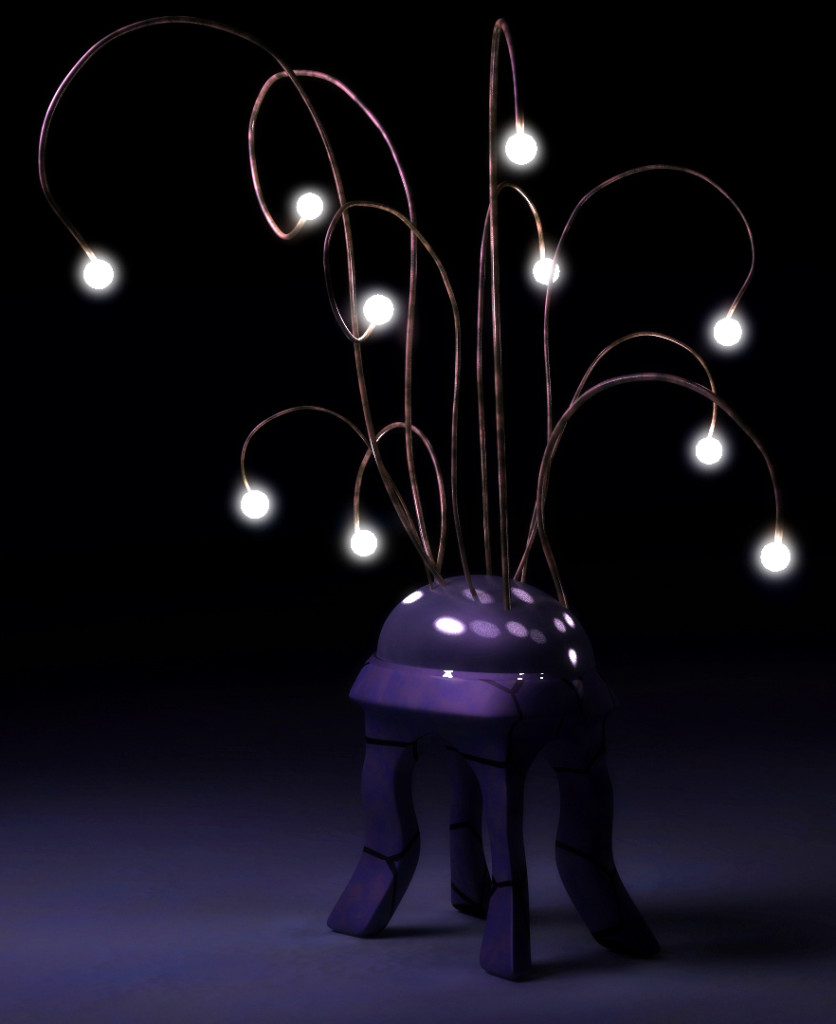
I’ve spent the last few hours tinkering with the site. I know it isn’t too much to look at – still rather simple – but that isn’t always a bad thing. It is well past time to call it a night, so I’ll just post a little concept model I’ve put together and rendered in LightWave 11.5 (which is now my primary tool of choice). Make of it what you will, but I think it looks more than vaguely organic. Now I’ve got a few different ideas to pursue for future models – one more organic and one less so, and more of an unconventional decorative light stand. The bulbs are lit via the ambient channel combined with GI. LightWave doesn’t seem to have a function to turn surfaces into more traditional light sources.

abstract light stand model

Modelled and rendered in LightWave 11.5.